Creating Dynamic Microsoft 365 Groups
Many organizations experience a high degree of personnel mobility and in turn, staff often change roles and memberships. This results in a demand for a responsive access control system providing users with the data they need when they need it, while also ensuring confidentiality and integrity of data by protecting it.
To provide this capability, we can leverage Microsoft 365 groups (aka Modern Groups, M365 Groups, O365 Groups, Unified Groups) with dynamic membership.
Note: To leverage dynamic membership for M365 Groups, an Azure Active Directory Premium P1 license must be present within the tenant. It does not have to be assigned to a specific user.
Note: At present (April 2021), to create a M365 group with dynamic membership, you must use the Azure Active Directory administrative console. M365 groups created within the Microsoft 365 Admin Center do not allow for dynamic membership.
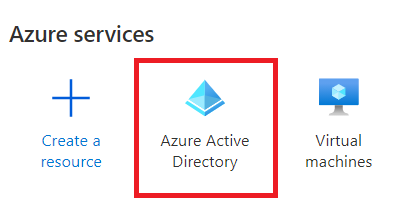
Upon logging in, open the Azure Active Directory menu blade:
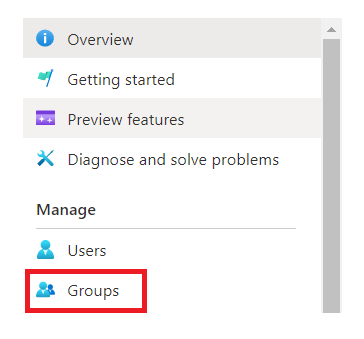
Then select Groups within the Manage column on the left of the blade:
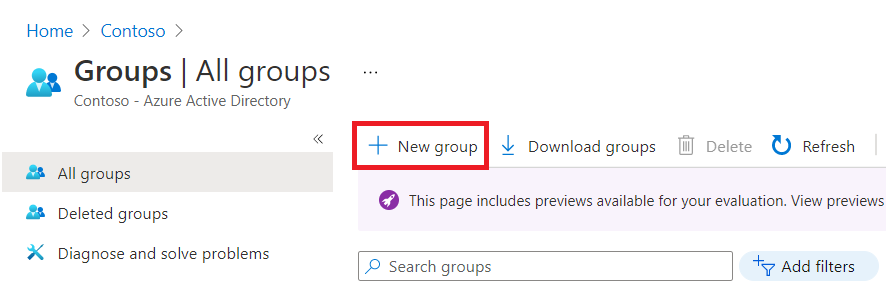
Next, select + New Group:
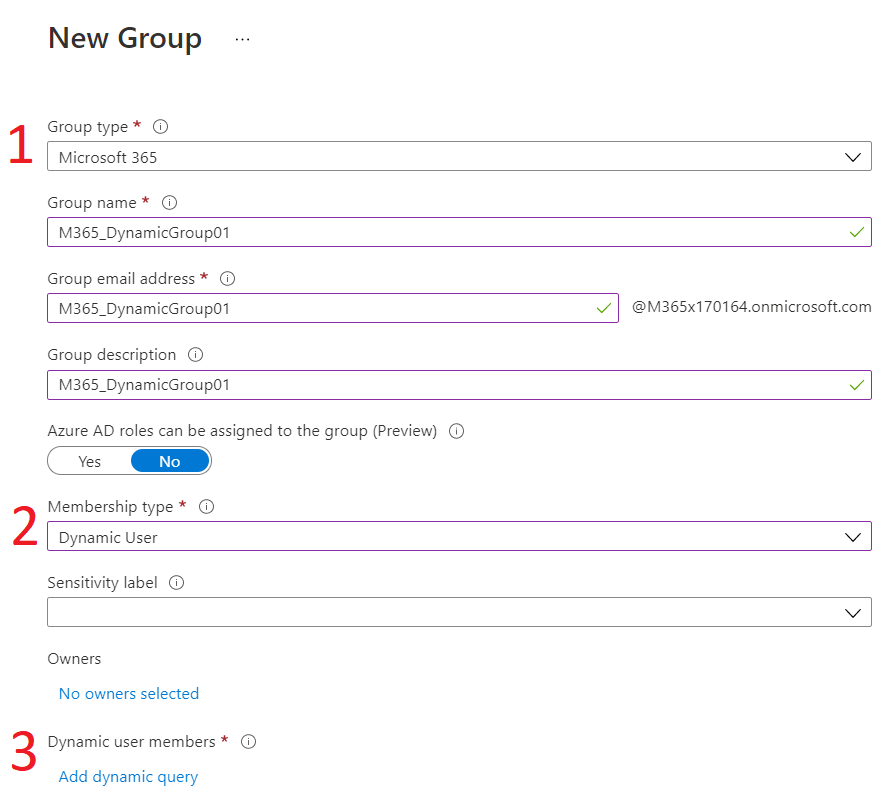
At the New Group blade, set the following values:
- Group Type: Microsoft 365
- Membership Type: Dynamic User
Next, select the option to Add Dynamic Query:
This will open the Dynamic Membership Rules editor allowing an administrator to build a custom query expression to target the group at a set of users. In this example, the query will target users who are:
- Within the Finance Department
- Located within the city of Baltimore
- Expression 1:
- Property: department
- Operator: Equals
- Value: Finance
- Expression 1:
Select + Add expression:
-
- And/Or: And
- Expression 2:
- Property: city
- Operator: equals
- Value: Baltimore
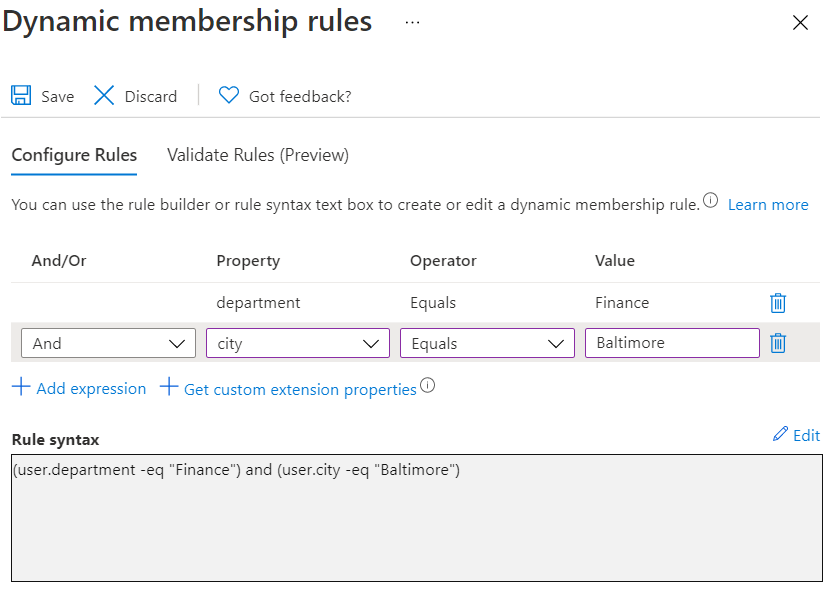
Finally, select Save.
This will return you to the New Group blade. Select Create.
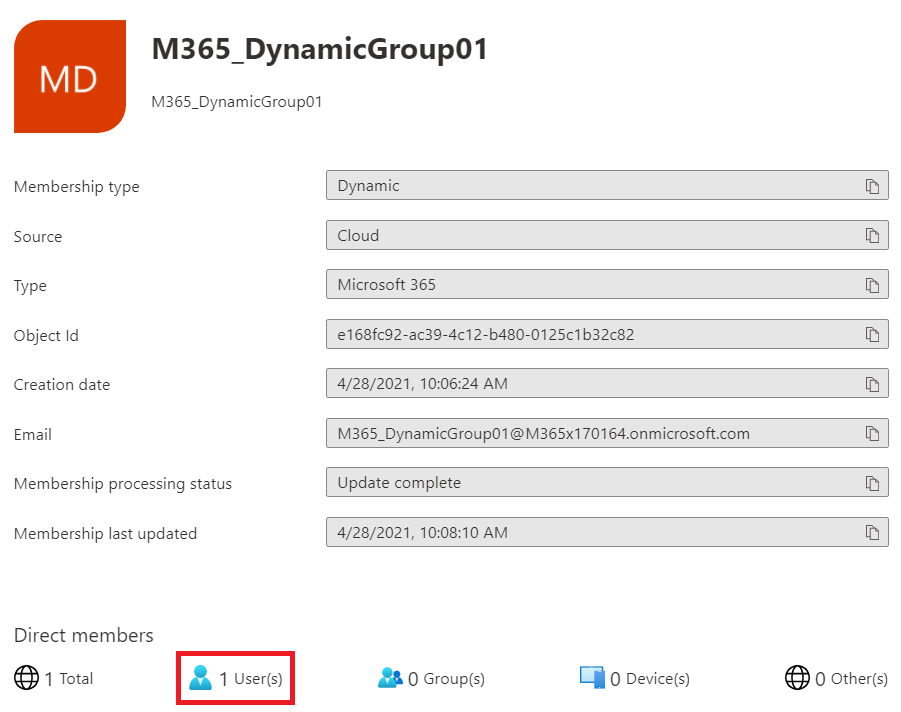
If we now review the properties of the group, we can see that it has 1 member at this time:
Update: Membership via the GUI is now available. The first method demonstrated here will show how to use PowerShell. The second method will demonstrate how to view within the Azure AD GUI.
Note: To view the membership of the group, we must use PowerShell.
PowerShell Method 1:
First, connect to your Azure AD tenant:
Connect-AzureAD
Next, query the group and pipe that to Get-AzureADGroupMember:
Get-AzureADGroup -SearchString “M365_DynamicGroup” | Get-AzureADGroupMember

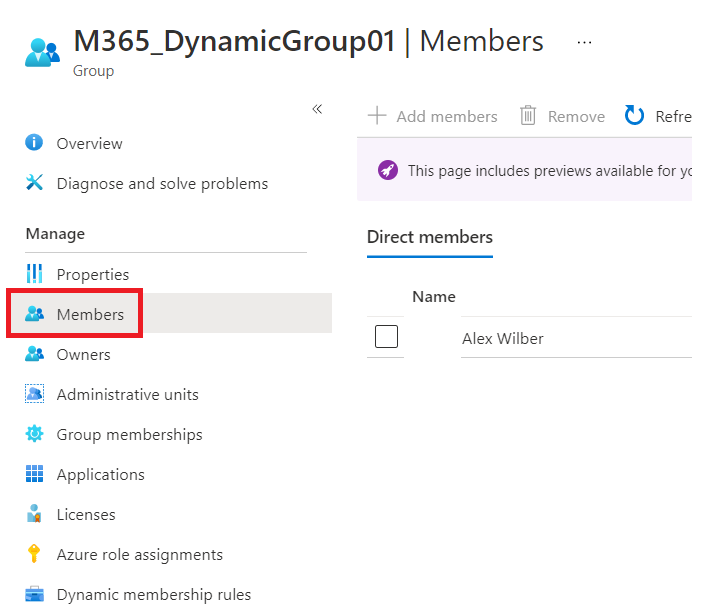
Azure AD GUI Method 2:
Open the properties of the group. From here select Members.
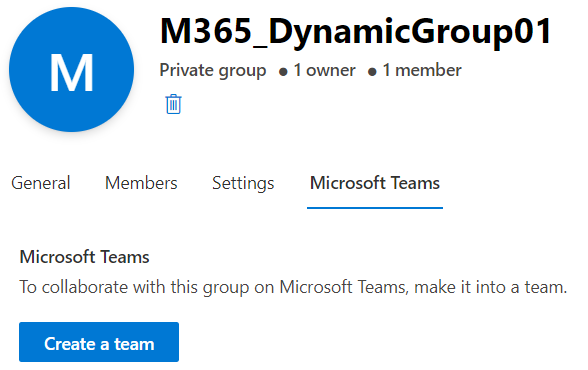
Note: If the Microsoft 365 group needs to also have a TEAM created, this can be performed from within the Microsoft 365 Admin Center.
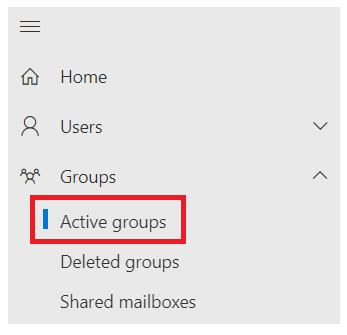
Upon logging in to the Microsoft 365 Admin Center, browse to Groups > Active Groups:
Next, locate the dynamic group, and select it to open the Properties blade for the group. On this blade select the Microsoft Teams tab. The option to Create a team will be available.
References
Reference 1: Create or Update a Dynamic Group in Azure Active Directory